


Stitching On-Chain Mischief (Part 1): Crafting a Stitch Inspired Memecoin on Sui
This guide breaks down core concepts and offers practical, hands-on steps to launch your own memecoin on Sui Blockchain.


Last weekend, I went out with friends to catch Lilo & Stitch on the big screen, the heartwarming tale of a spunky Hawaiian girl and her mischievous alien companion. As the credits rolled, a simple idea struck me: why not channel Stitch’s playful spirit into something unique on-chain? And that’s exactly what we’ll do today by building a memecoin on Sui inspired by everyone’s favorite blue experiment!!.
Welcome to the first article of a multi-part series all about crafting your memecoin on Sui. Over the coming days, we’ll explore design strategies and practical implementation for creating memecoin on Sui, using our Stitch inspired memecoin as a running example.
In this opening chapter, we’ll lay the groundwork by unpacking essential concepts and diving into smart contract design.
Before we dive in, I’ll assume you already have a basic grasp of smart contracts. If you’re new to Sui, don’t worry, head down to the Prerequisites section below, where you’ll find step-by-step guidance on setting up your development environment and writing your first Move module on Sui.
Prerequisites
Install Sui
https://docs.sui.io/guides/developer/getting-started/sui-installEnvironment Set up
https://docs.sui.io/guides/developer/getting-started/connectWriting Your First Smart Contract On Sui
https://docs.sui.io/guides/developer/first-app/write-package
You can grab the completed source code for the contract from HERE.
Crafting Our Memecoin’s Move Contract
As for the first step, run the command below to generate a boilerplate package that includes a `Move.toml` manifest and a `source` folder containing a default module.
sui move new sui_memecoinNext, let's rename the default module created inside the source folder to `stitch.move`. This module will be the main module where we implement the logic for our memecoin.

Now, copy the code below and paste it into your module. We'll walk through what each line of code does next.
module sui_memecoin::stitch;
use sui::coin::{Self, TreasuryCap};
use sui::transfer;
use sui::url::new_unsafe_from_bytes;
public struct STITCH has drop {}
const TOTAL_SUPPLY: u64 = 100_000_000_000;
fun init(otw: STITCH, ctx: &mut TxContext) {
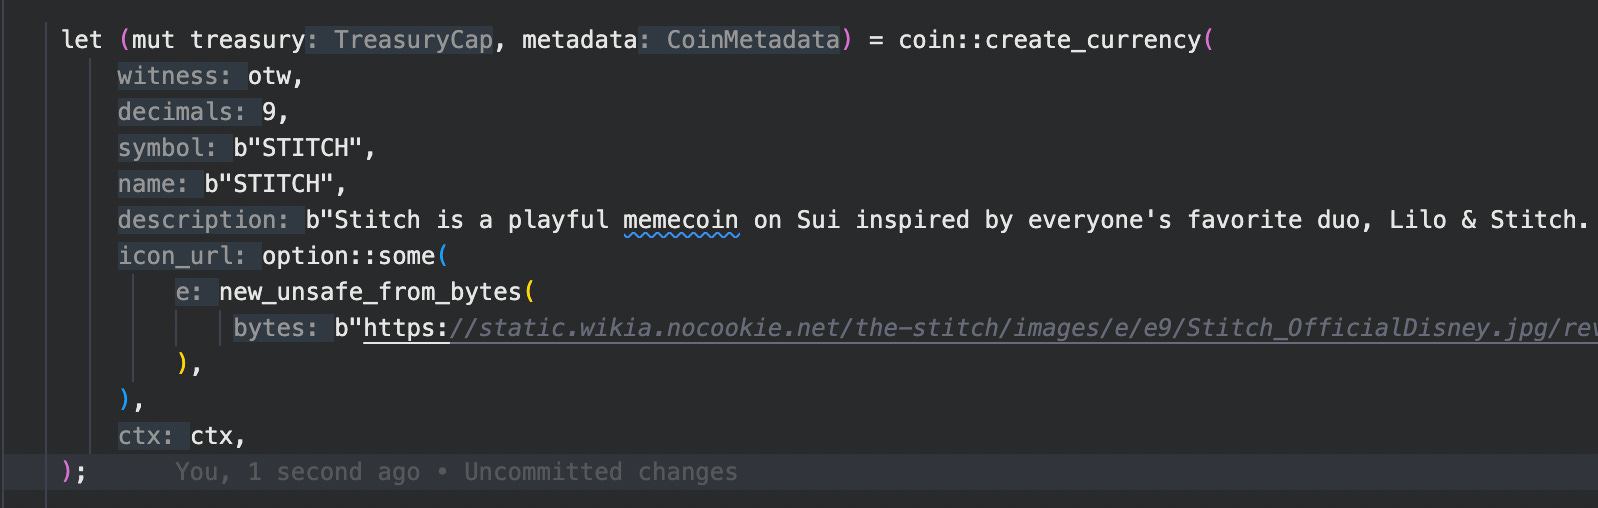
let (mut treasury, metadata) = coin::create_currency(
otw,
9,
b"STITCH",
b"STITCH",
b"Stitch is a playful memecoin on Sui inspired by everyone's favorite duo, Lilo & Stitch. Fueled by the spirit of ohana, STITCH lets fans tip, swap and celebrate with little experiments of value—bringing that Hawaiian heart and mischief right onto the blockchain",
option::some(
new_unsafe_from_bytes(
b"https://static.wikia.nocookie.net/the-stitch/images/e/e9/Stitch_OfficialDisney.jpg/revision/latest?cb=20140911233238",
),
),
ctx,
);
// mint the total supply to the treasury during initialization
mint(&mut treasury, TOTAL_SUPPLY, ctx.sender(), ctx);
// Freeze the meta data so its immutable
transfer::public_freeze_object(metadata);
// freeze the treasury so its immutable
transfer::public_freeze_object(treasury);
}
// mint function is used to mint STITCH coins to a recipient
public fun mint(
treasury: &mut TreasuryCap<STITCH>,
amount: u64,
recipient: address,
ctx: &mut TxContext,
) {
let coin = coin::mint(treasury, amount, ctx);
transfer::public_transfer(coin, recipient);
}
If you are not familiar with Move, the first line in our code initiates our Sui Move module. We start with the package name, followed by our module name. In this case, the package name is `sui_memecoin`, and the module name is `stitch`.
module sui_memecoin::stitch;Next, we import all the modules that we will use to develop the memecoin.
use sui::coin::{Self, TreasuryCap};
use sui::transfer;
use sui::url::new_unsafe_from_bytes;
Now, if you take a look at the first function in our code, which is the `init` function, you'll notice that it takes two arguments.
fun init(otw: STITCH, ctx: &mut TxContext) {
    let (mut treasury, metadata) = coin::create_currency(
        otw,
        9,
        b"STITCH",
        b"STITCH",
        b"Stitch is a playful memecoin on Sui inspired by everyone's favorite duo, Lilo & Stitch. Fueled by the spirit of ohana, STITCH lets fans tip, swap and celebrate with little experiments of value—bringing that Hawaiian heart and mischief right onto the blockchain",
        option::some(
            new_unsafe_from_bytes(
                b"https://static.wikia.nocookie.net/the-stitch/images/e/e9/Stitch_OfficialDisney.jpg/revision/latest?cb=20140911233238",
            ),
        ),
        ctx,
    );

    // mint the total supply to the treasury during initialization
    mint(&mut treasury, TOTAL_SUPPLY, ctx.sender(), ctx);

    // Freeze the meta data so its immutable
    transfer::public_freeze_object(metadata);

    // freeze the treasury so its immutable
    transfer::public_freeze_object(treasury);
}
For those new to Move, the Sui runtime automatically calls the `init` function for every module within a package only once upon the publication of that package.
In our case, we can use the `init` function to:
1. Set the one-time witness.
2. Provide the transaction context, which includes details about the address that publishes the contract
If you are not familiar with the one-time witness pattern, I highly recommend checking out the one-time witness pattern section in the Move book for a better understanding.
In brief, the primary purpose of the one-time witness pattern is to guarantee that a resource or type can be instantiated or used only once.
Next, let's check what's happening inside the `init` function. The first thing we need to do is create our memecoin. For this, we can use the Coin module provided by Sui, which has everything we need to create and mint coins.
The method we are using to create a new coin is `create_currency`. This method takes the OTW we created, along with several other values.
Decimals: This refers to the number of decimal places for the coin. For most standard coins, this is set to 9.
Symbol: This is the symbol of our memecoin. Just like other coins, each memecoin will have its own symbol, such as SOL or DOGE.
Name: This will be the name of the coin we are going to create.
Description: Here, we can provide a brief description of the coin, which will be useful when listing the token on exchanges.
Icon URL: The URL to the icon file of the coin
The `create_currency` method creates and returns two objects:
Treasury Cap: This is a capability object that provides control over the minting and burning of coins. It acts as an authorization mechanism for these processes.
Metadata: This resource stores descriptive information about the coin. This information is essential for wallets, explorers, and other applications to accurately display details about the coin.
Next, let’s discuss how the mint function operates, which we have defined to accept multiple arguments.

First, inside the mint function, we call the mint method from the coin module. We pass three parameters: the treasury obtained from the create_currency function, the number of coins we want to mint, and the transaction context.
After minting the coins, we transfer them to the recipient, which in this case is the publisher of the contract.

If you are not familiar with object transfer and how it works in the Move programming language, I recommend reading about the Sui object model to enhance your understanding.
In summary, the transfer function is used to send an object to a specific address. Once an object is transferred, it becomes owned by that address, giving exclusive control of the object to the recipient's account.
In short, we have moved all the minted coins to the wallet address of the contract publisher. Therefore, when you publish the contract, all the minted coins will be in your wallet. You can then transfer them to other wallet addresses for distribution.
Now let's see what we have done to the metadata and treasury cap returned by the create currency method.

As you can see, we have applied the `freeze_object` method to both objects. The purpose of this is to make these objects immutable. Once we freeze an object, it becomes immutable, meaning we cannot make any changes to it. In our case, the coin metadata (such as name, symbol, and other parameters) cannot be modified.
Additionally, by freezing the treasury cap object, no one can mint more STITCH coins. We have already minted the total supply mentioned at the beginning of the code, and that’s all that will be minted.
When we publish the contract, it will call the init function to mint the total supply we designated to the publisher's wallet address and freeze the treasury cap, preventing any further minting of coins.
Crunching the Numbers: Calculating STITCH’s Total Supply
Before we publish the contract, let's discuss the total supply and how to calculate it.
In our scenario, we want to mint 100 STITCH coins as our total supply, and we do not want to mint any additional STITCH coins beyond that.
Remember that when we created the currency, we specified that we needed 9 decimal places for our coin. This means that the base unit of our coin will be 0.000000001. Therefore, when we pass the amount to the mint method, we need to specify the number of coins we want in base units.
To mint your desired number of coins, you need to multiply that number by the base unit to determine the total supply in base units.
As you can see, we have completed that calculation.

Publishing Time: Deploying Our Contract!
Next, we need to publish the module. Before doing so, you can run the command below to ensure that there are no build errors.
sui move buildOnce you've confirmed there are no issues, use the command below to publish the package. This action will mint 100 STITCH tokens to your wallet address.
sui client publishThe command will return a success response along with all the object changes, as shown below.
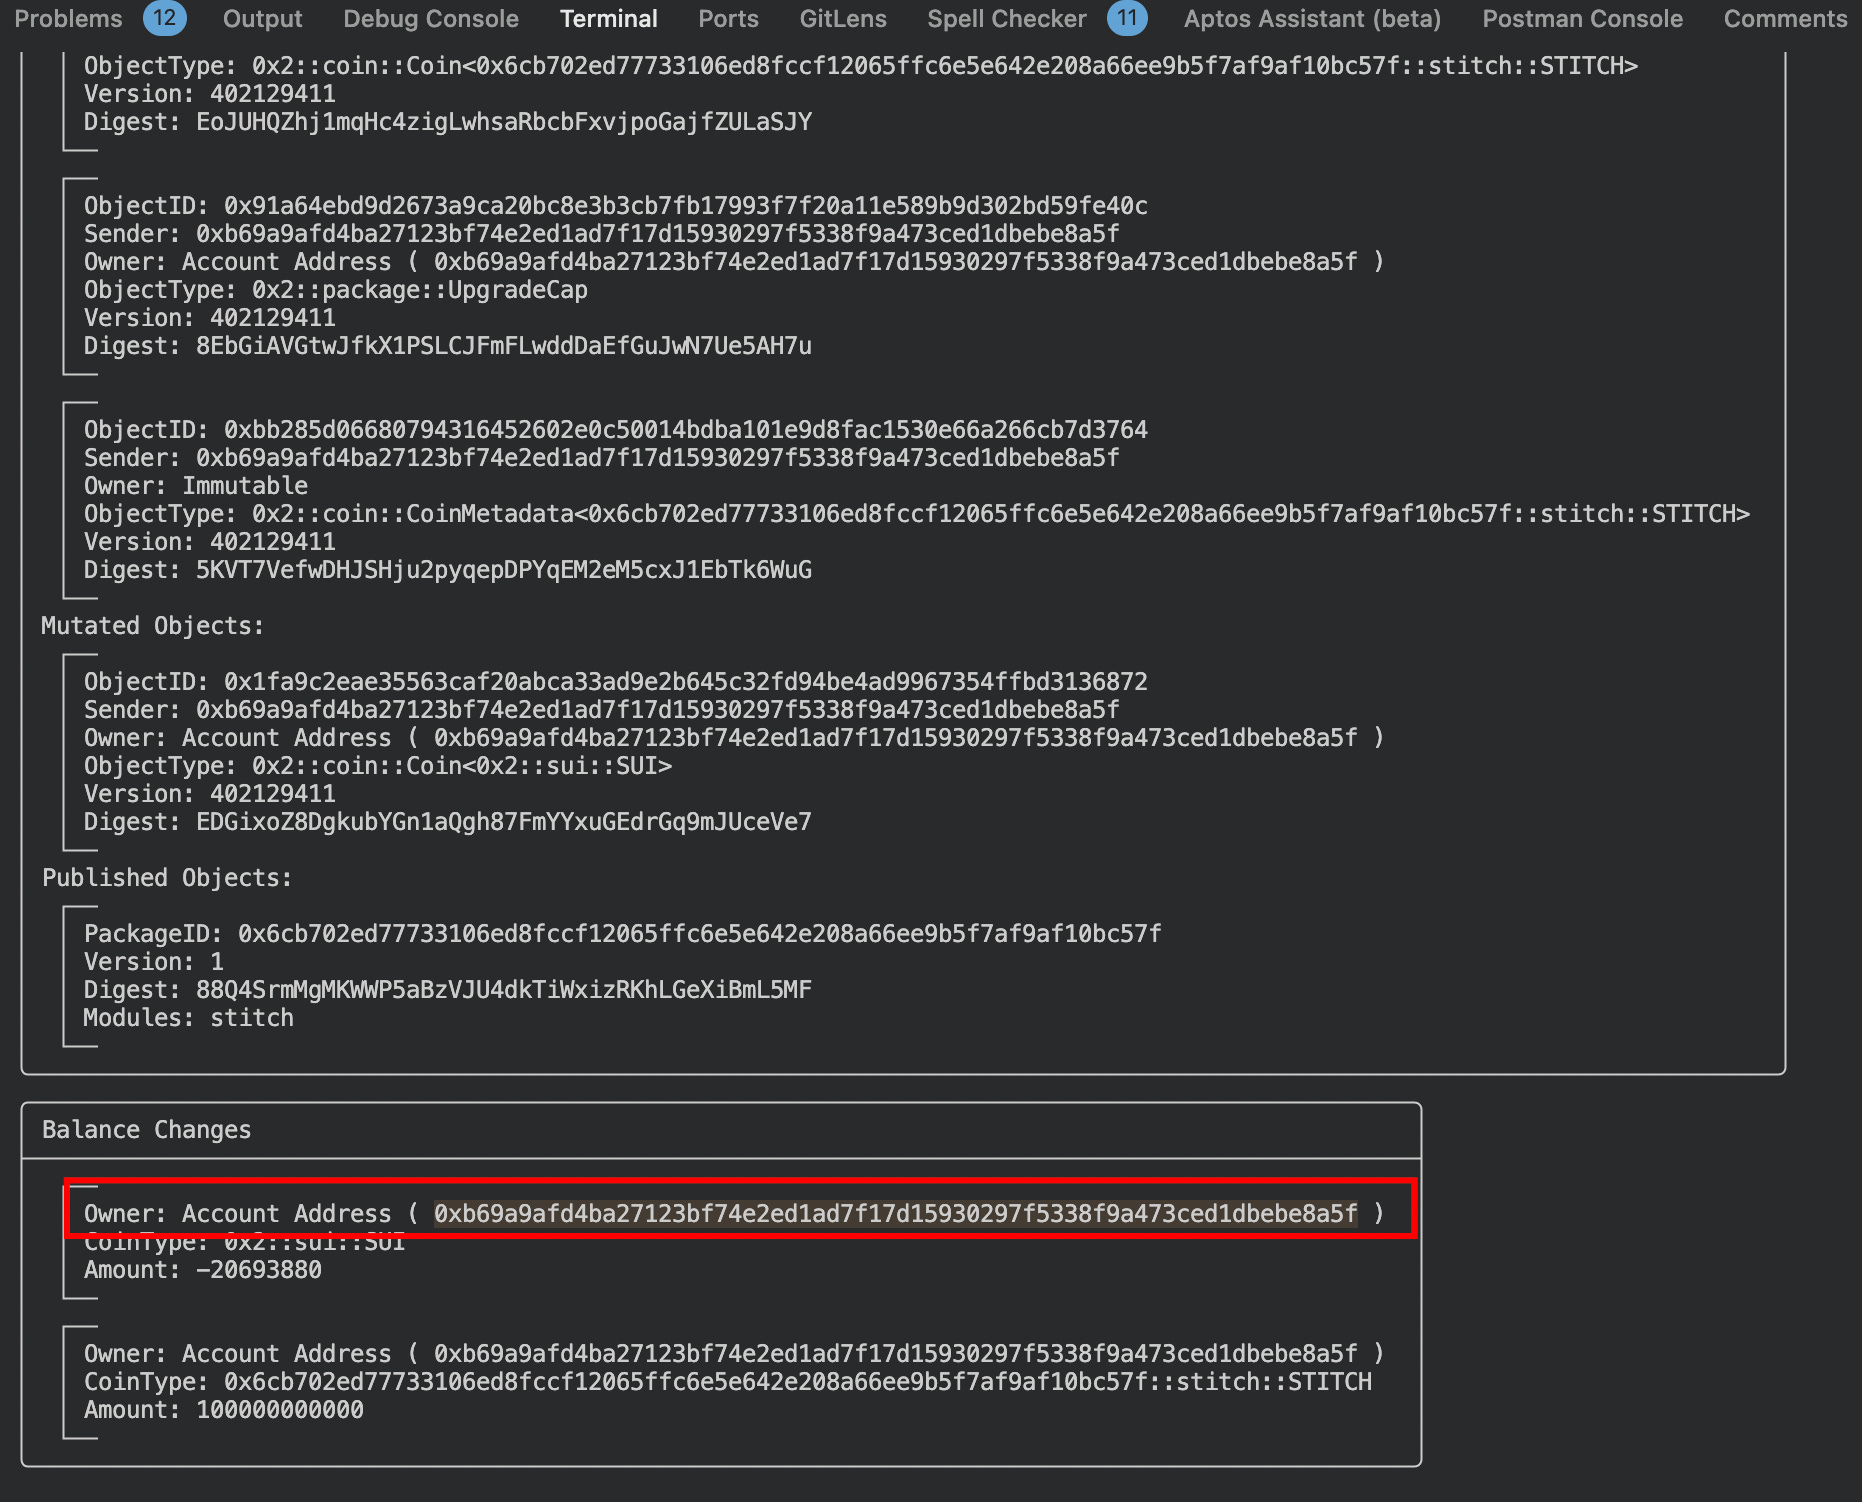
Now, copy the wallet address used to publish the smart contract and navigate to SuiScanner. Select either the testnet or devnet, depending on which environment you used to publish your contract.
By searching for your wallet address, you will see that 100 STITCH coins have been minted to your wallet.

If you click on the STITCH coin, you can access the coin object page, which displays all the details we configured for the coin.

Congratulations! You now have your own Memecoin on Sui!
What’s Next
You can grab the completed source code for the contract from HERE.
In the upcoming articles, we’ll explore several strategies for memecoin creation and discuss how you can tweak and extend our stitch contract to execute these approaches.